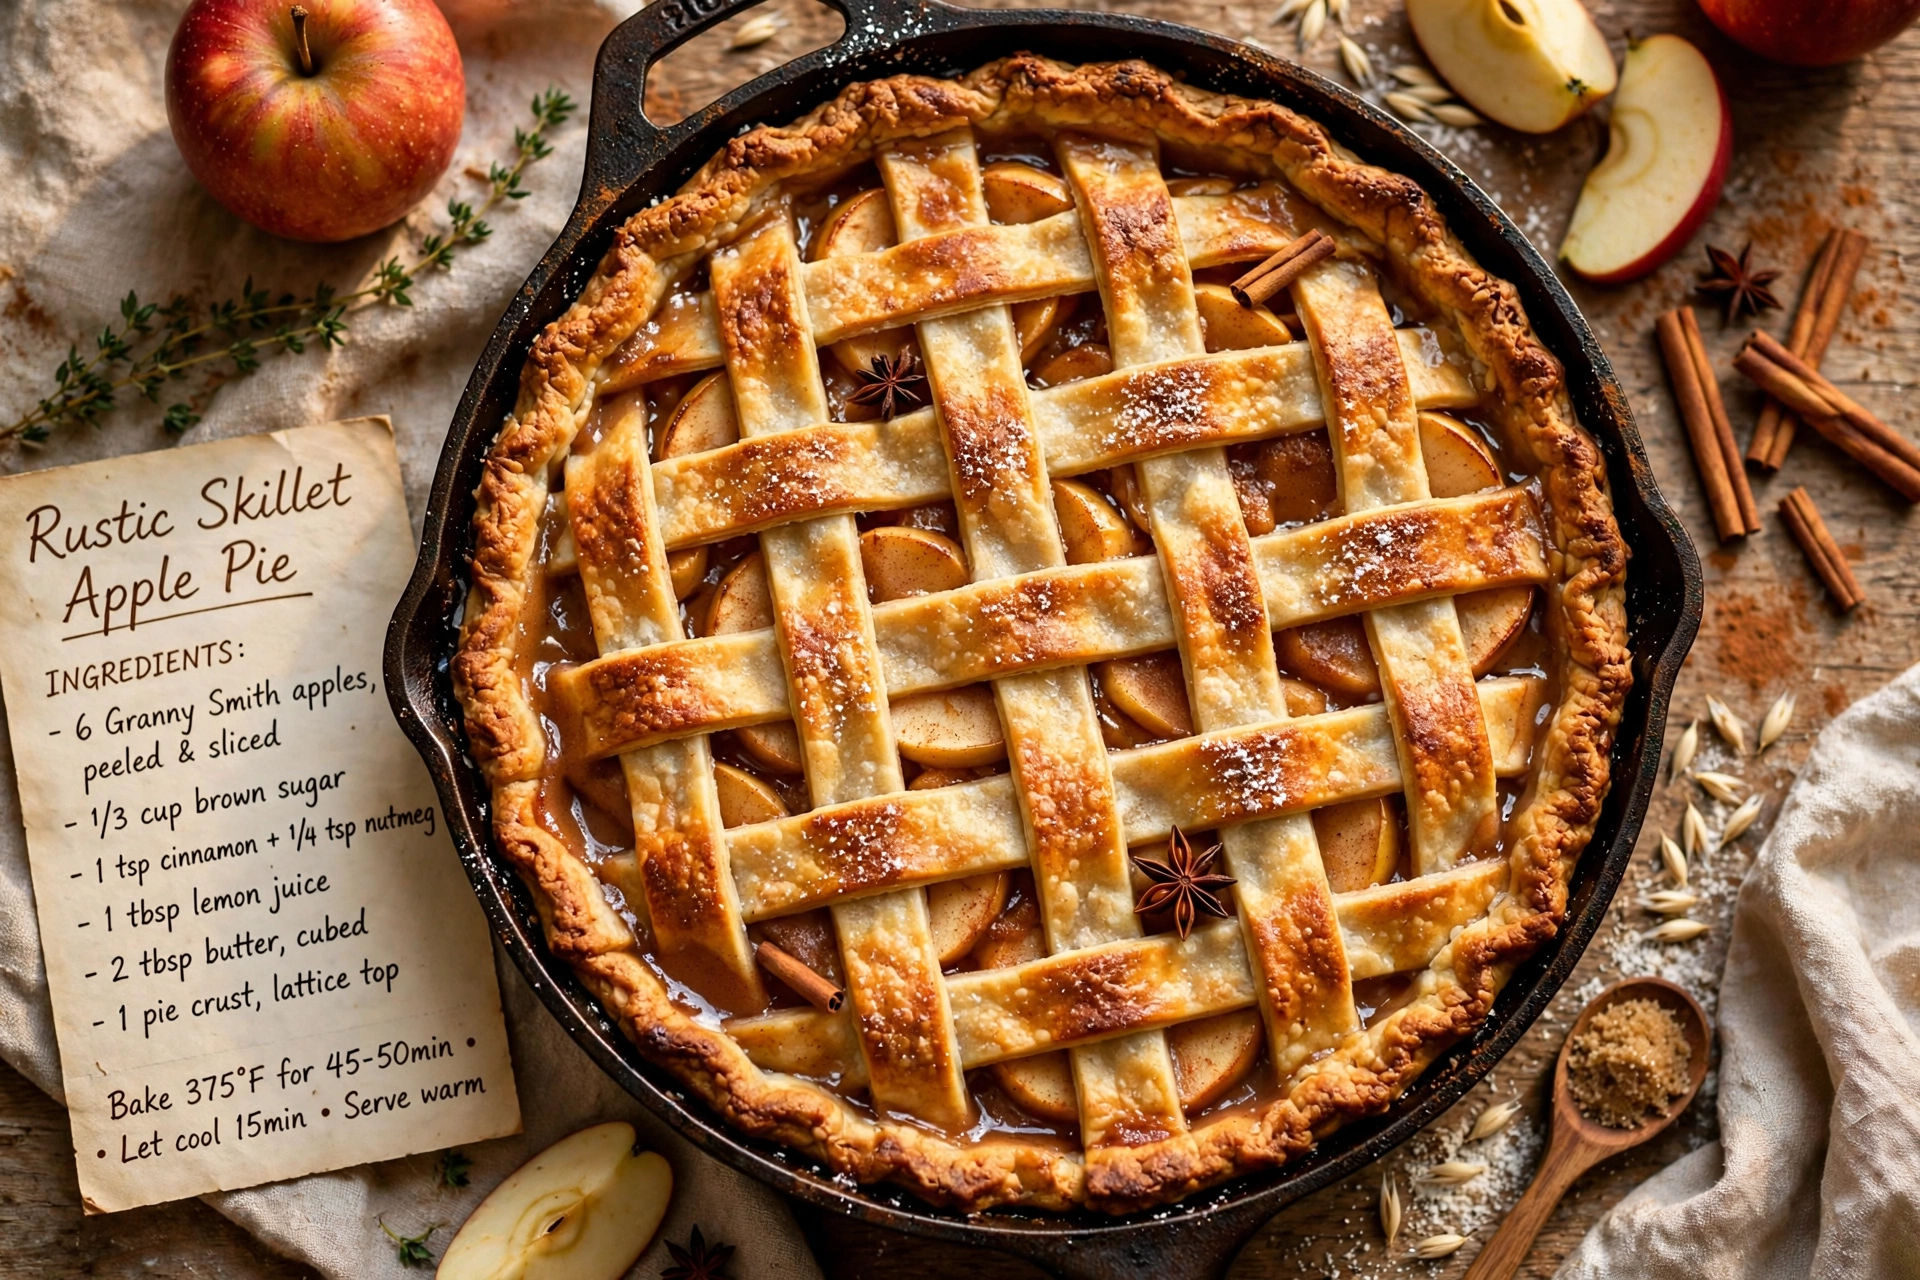
Rustic Skillet Apple Pie
This rustic skillet apple pie bakes up bubbling and golden in a cast iron pan, with tender spiced apples and a flaky, free-form crust that beats any store-bought pie.

Why This Rustic Skillet Apple Pie Belongs in Your Recipe Box
There is something about pulling a bubbling, golden pie straight out of a cast iron skillet that feels like a warm hug. This rustic skillet apple pie skips the fussy lattice work and the finicky pie plate crimping. Instead, you get a free-form, drape-and-tuck crust that looks effortlessly beautiful every single time, even if pie crust has never been your strong suit.
If you've been searching for a stove top apple pie, a Pioneer Woman style skillet apple pie, or just one of those cozy rustic pie recipes that tastes like it came from grandma's kitchen, this is it. The apples soften slightly right in the skillet before the crust goes on, which means deeper flavor and a filling that's never watery or bland.
Before we get cooking, the right tools and ingredients make a real difference here. A good, heavy cast iron skillet holds and distributes heat evenly, which is exactly what gives this pie its deeply caramelized bottom crust, and a sharp apple corer and a reliable pastry cutter will save you a ton of time and frustration. These are the products that genuinely help this recipe shine:
The Secret to a Truly Rustic Crust
Forget perfection here. The whole charm of a rustic apple pie recipe is in its imperfect, hand draped crust. You roll the dough into a rough circle, lay it over the filling, and simply tuck the extra edges down inside the skillet's rim. No crimping, no lattice weaving, no stress.
A few things make this crust extra special:
- Cold butter is non-negotiable. It's what creates those flaky, buttery layers as the pie bakes.
- Ice water, added slowly, keeps the dough from turning tough.
- A short chill relaxes the gluten so the dough doesn't shrink or fight you when you roll it out.
Chef's Tip: If your kitchen is warm, pop the rolled out dough back in the fridge for 10 minutes before draping it over the apples. Cold dough holds its shape and bakes up far flakier than dough that's gone soft and warm.
Why the Skillet Makes All the Difference
Using a cast iron skillet for this apple pie isn't just for looks, though it certainly makes for a gorgeous presentation straight out of the oven. Cast iron holds onto heat, which means the apples on the very bottom get a gentle caramelized quality that you simply can't replicate in a glass pie dish.
Cooking the apple filling briefly in melted butter right in the skillet before adding the crust is one of the best tricks in cast iron desserts. It jump starts the softening process and lets the sugars and apple pie spice really bloom, so every bite of filling is rich and fragrant instead of underdone or watery.
For the apples themselves, a mix of tart and sweet works best. Granny Smith apples hold their shape and add brightness, while Honeycrisp or Braeburn bring natural sweetness and a softer bite. Together they create that classic, well-rounded apple pie flavor.
Ready to make it? Here is the full step-by-step recipe:
Rustic Skillet Apple Pie
This rustic skillet apple pie bakes up bubbling and golden in a cast iron pan, with tender spiced apples and a flaky, free-form crust that beats any store-bought pie.
Ingredients
- 2 1/2 cups all-purpose flour, plus more for rolling
- 1 tbsp granulated sugar, for the crust
- 1 tsp salt, divided
- 1 cup unsalted butter, cold, cubed, divided (crust and filling)
- 1/2 cup ice water, plus more as needed
- 3 lb apples, peeled, cored, and sliced 1/4-inch thick (Granny Smith and Honeycrisp mix recommended)
- 3/4 cup brown sugar, packed
- 2 tsp apple pie spice, or a mix of cinnamon, nutmeg, and allspice
- 1 tbsp lemon juice, freshly squeezed
- 2 tbsp cornstarch, for thickening the filling
- 1 egg, beaten, for egg wash
- 1 tbsp coarse sugar, for sprinkling on top, optional
Instruction
In a large bowl, whisk together the flour, granulated sugar, and 1/2 teaspoon salt. Cut in 3/4 cup cold butter using a pastry cutter or your fingers until the mixture resembles coarse crumbs.
Drizzle in the ice water, 1 tablespoon at a time, mixing gently until the dough just comes together. Shape into a disk, wrap, and chill for at least 1 hour.
Preheat the oven to 400 degrees F (200 degrees C).
In a large bowl, toss the sliced apples with brown sugar, apple pie spice, lemon juice, cornstarch, and the remaining 1/2 teaspoon salt until evenly coated.
Melt the remaining 1/4 cup butter in a 10-inch cast iron skillet over medium heat.
Arrange the apple mixture evenly in the warm skillet, pressing down gently, and let it cook for 3 to 4 minutes to soften slightly.
On a floured surface, roll the chilled dough into a rough circle slightly larger than the skillet.
Drape the dough over the apples, tucking the excess edges down inside the skillet rim for that classic rustic look.
Cut a few small slits in the top of the crust to let steam escape.
Brush the crust with beaten egg and sprinkle with coarse sugar, if using.
Place the skillet on a baking sheet to catch any drips, then bake for 40 to 45 minutes, until the crust is deep golden brown and the filling is bubbling.
Let the pie cool in the skillet for at least 20 minutes before slicing and serving.
Equipment
- 10-inch cast iron skillet
- Rolling pin
- Pastry cutter
- Large mixing bowls
- Baking sheet
- Pastry brush
Notes
Serving, Storing, and Make-Ahead Tips
This pie is at its absolute best warm, about 20 to 30 minutes out of the oven, when the filling has settled just enough to slice cleanly but the crust is still shatteringly crisp. A scoop of vanilla ice cream melting into the warm apples is never a bad idea.
For leftovers, simply cover the skillet loosely or transfer slices to an airtight container. It keeps beautifully at room temperature for up to 2 days, or in the fridge for up to 5. To bring back that fresh baked crispness, reheat slices in a 300 degree F oven for about 10 minutes rather than the microwave, which will leave the crust soggy.
Chef's Tip: If you're baking this ahead for a holiday gathering, you can fully assemble the unbaked pie, cover it tightly, and refrigerate it for several hours before popping it in the oven. Just add a few extra minutes to the bake time since it's starting out cold.
However you serve it, this rustic skillet apple pie brings that homemade, lived-in charm that a perfectly manicured pie just can't match. It's the kind of dessert people remember, and the kind of recipe you'll find yourself reaching for every fall.