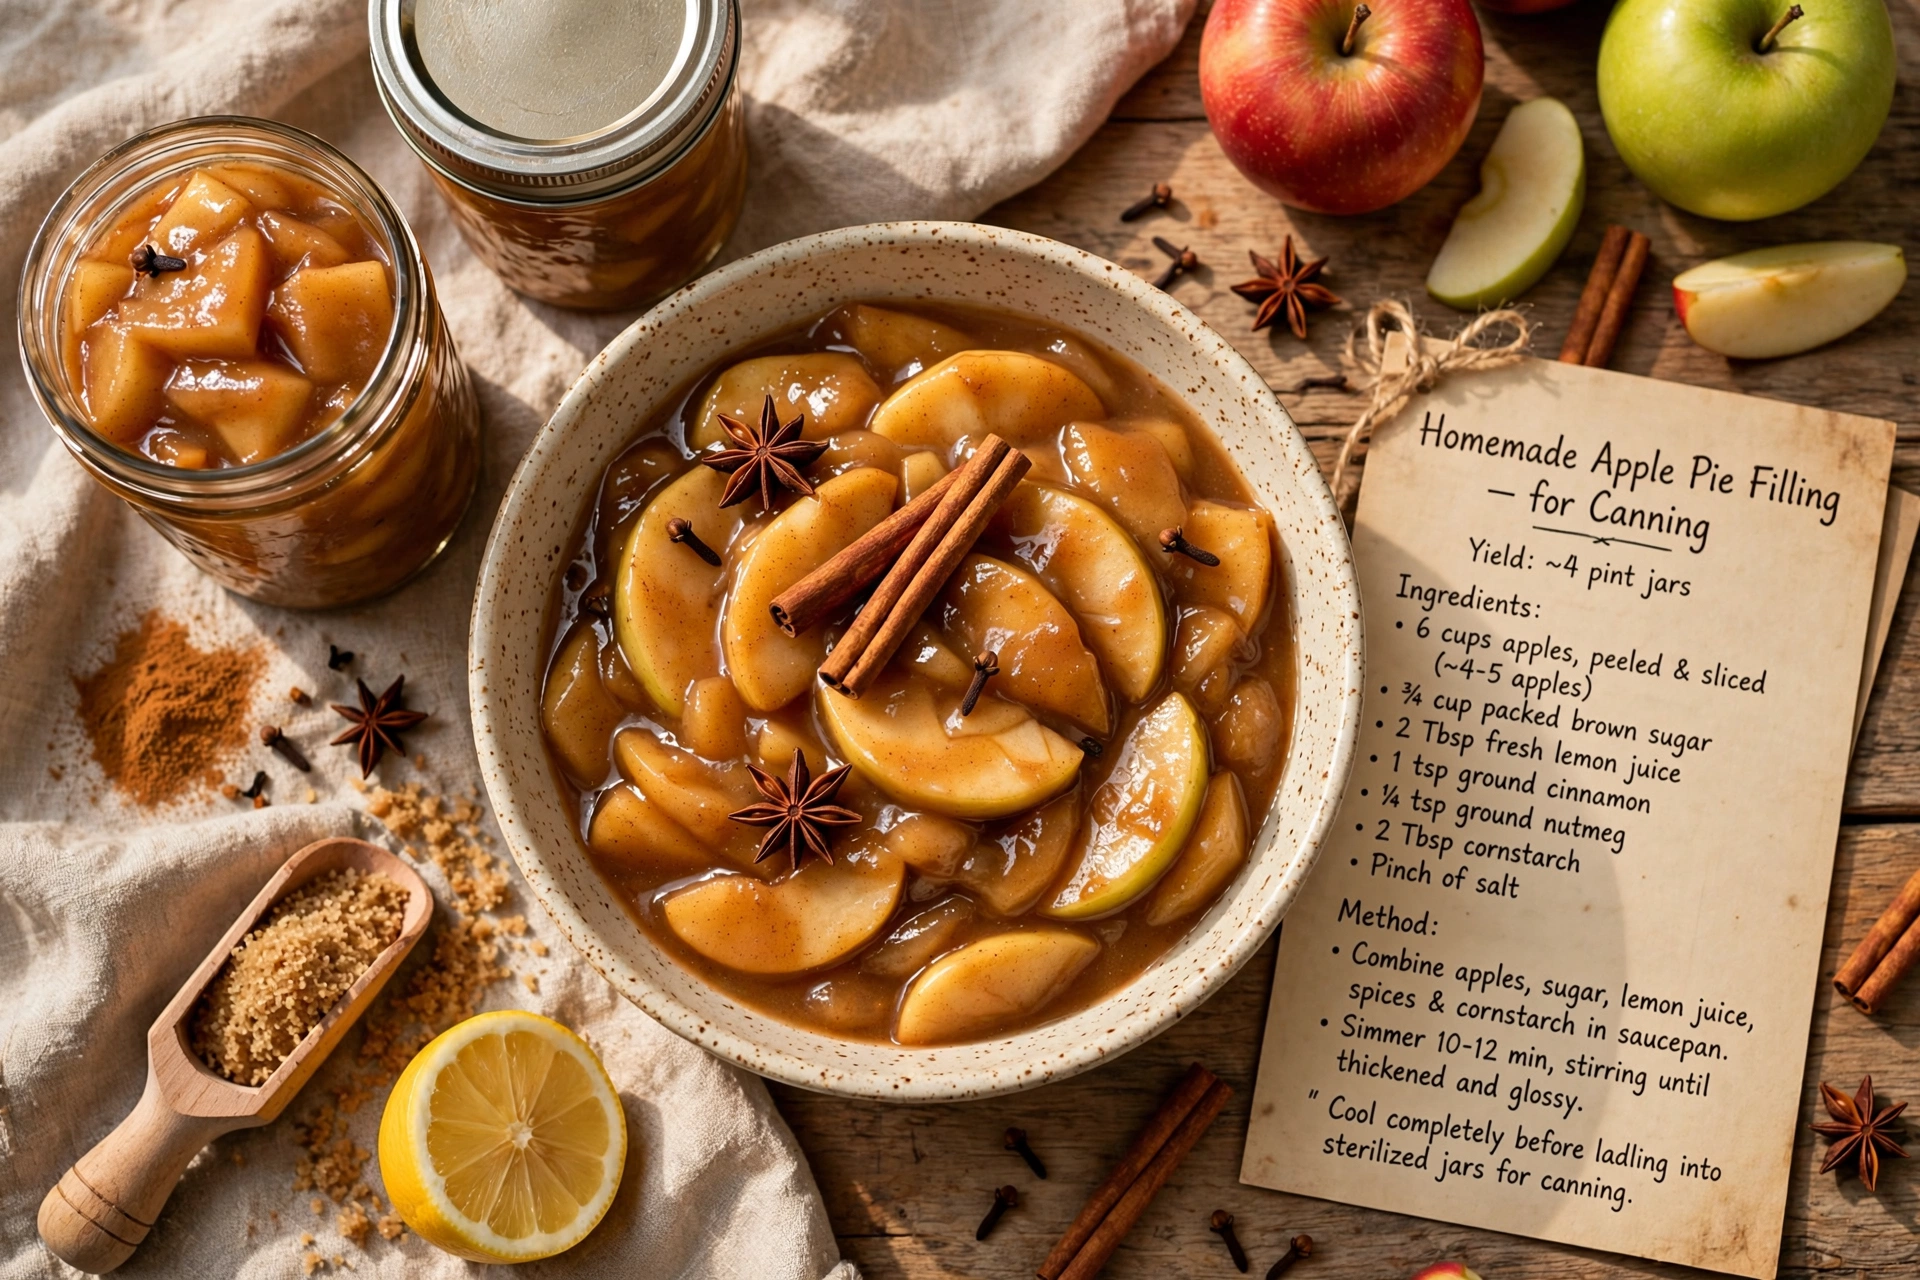
Homemade Apple Pie Filling for Canning
Learn how to make and can apple pie filling at home with this easy, small-batch water bath canning recipe, so you can enjoy a taste of fall all year long.

Fall in a Jar: Homemade Apple Pie Filling for Canning
There is nothing quite like opening your pantry in the middle of January and pulling out a jar of golden, cinnamon spiced apples you put up yourself back in September. This homemade apple pie filling for canning recipe turns a big bag of fresh apples into cozy, ready to bake filling that tastes like it took hours, without the last minute scramble. Whether you are canning apples for pie filling for the first time or you have been doing it for years, this recipe walks you through exactly how to can apple pie filling safely and deliciously.
Before we get cooking, the right tools and ingredients make a real difference here. A sturdy water bath canner, a reliable jar lifter, and fresh, firm baking apples are what separate a frustrating afternoon from a smooth one. These are the products that genuinely help this recipe shine:
Choosing the Best Apples for Canning Apple Pie Filling
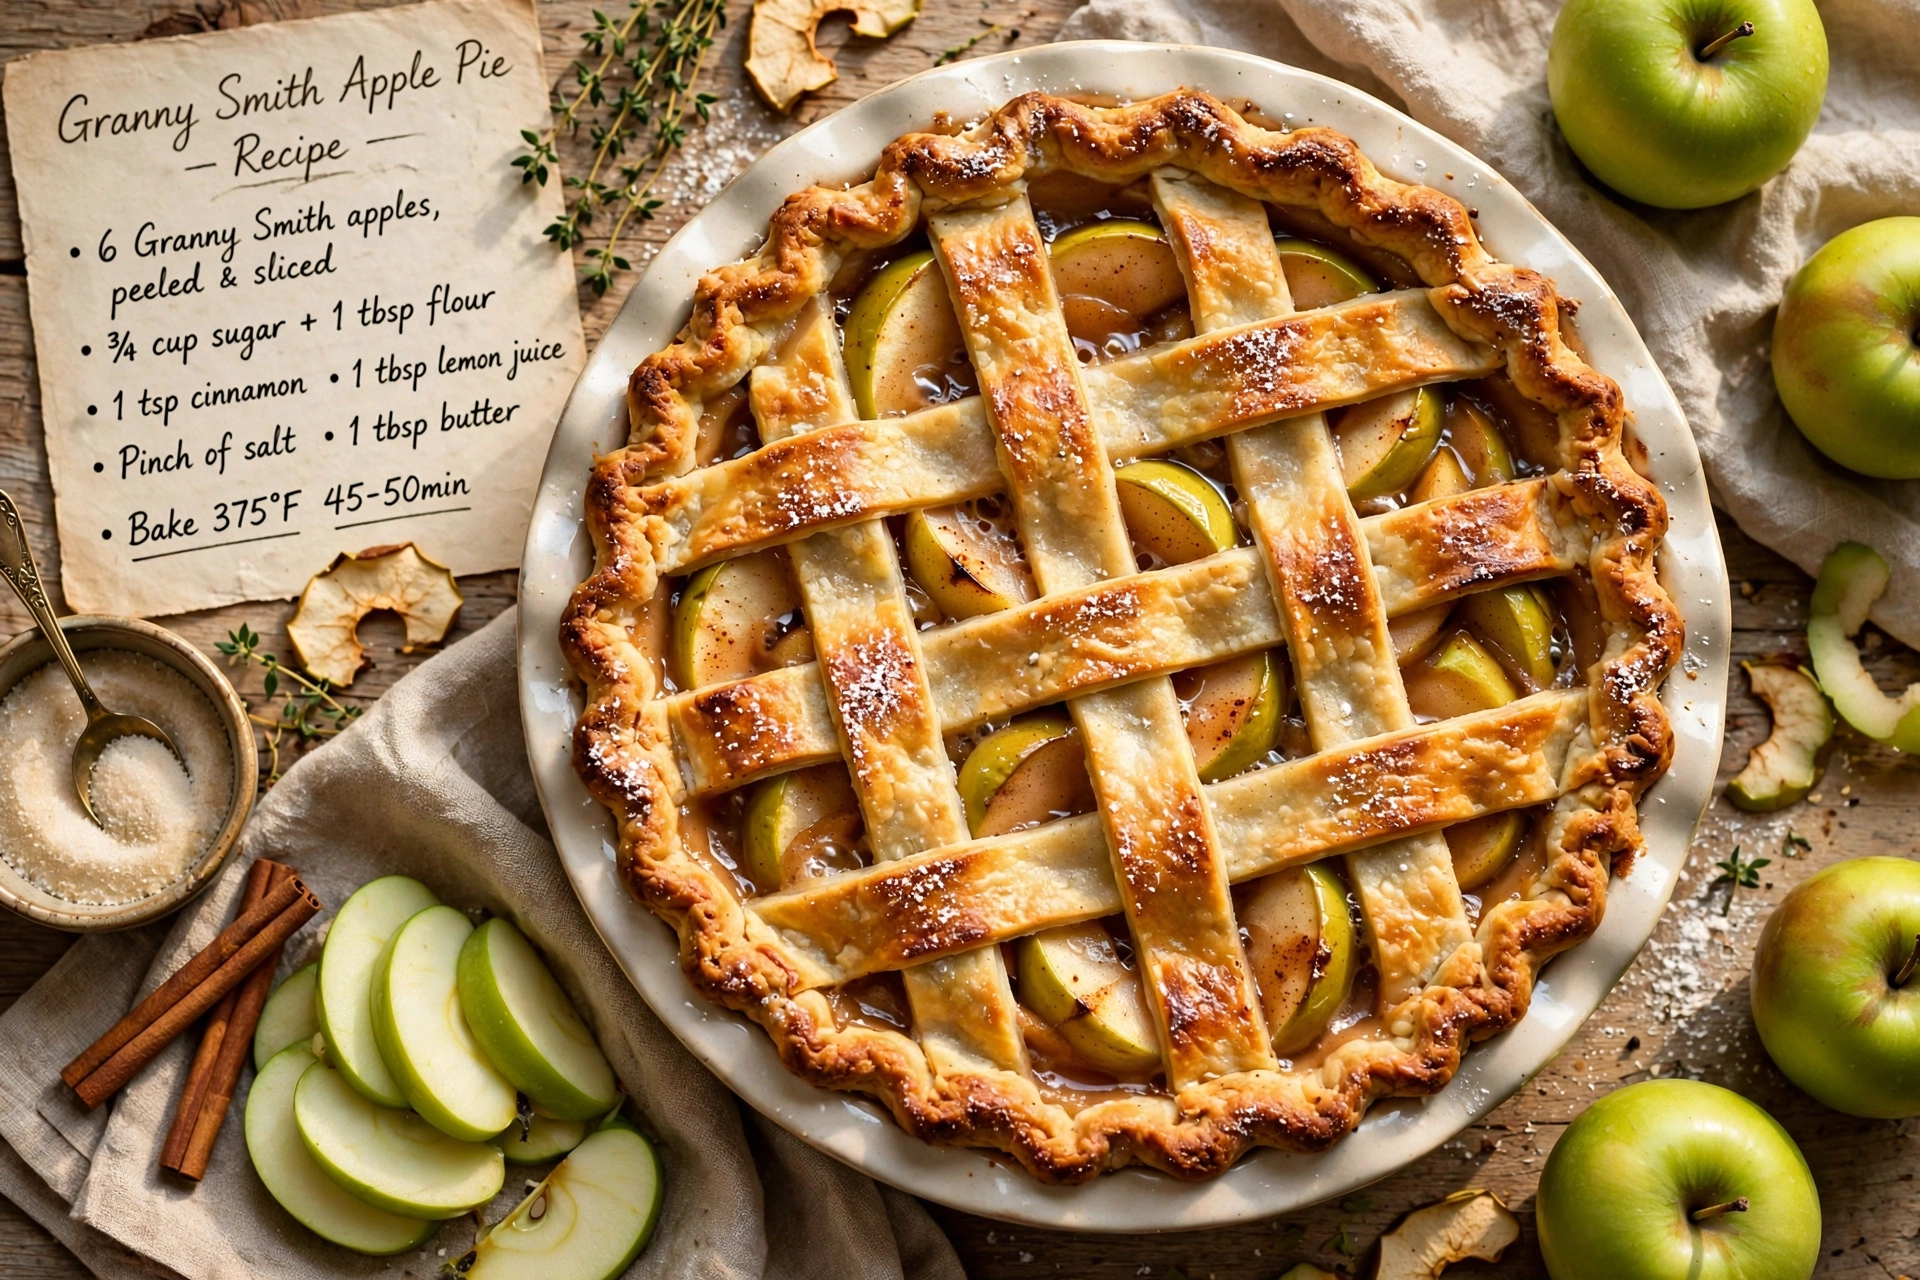
Not all apples hold up the same way once they hit a hot syrup and a canner. For the best texture, you want apples that stay firm rather than turning to mush. Granny Smith, Honeycrisp, and Braeburn are excellent choices because they are tart, sturdy, and have enough structure to survive processing.
- Avoid overly soft varieties like Red Delicious, which tend to break down
- Mix two firm varieties for a more complex flavor
- Choose apples that are firm to the touch with no soft spots
Chef's Tip: Slice your apples uniformly, about half an inch thick, so they cook and process evenly. Uneven slices mean some pieces turn mushy while others stay underdone.
A Note on Thickeners: Cornstarch vs Clear Jel
This is one of the most searched questions around canning apple pie filling no Clear Jel, so let's address it directly. Cornstarch works beautifully for thickening apple pie filling in terms of flavor and texture, but it has not been officially tested for long term shelf stability in a boiling water canner the way Clear Jel has.
That means if you use cornstarch like this recipe does, the safest approach is to treat your canned jars as fridge or freezer jars rather than shelf stable pantry jars, unless you are comfortable following your own research into current guidance. If shelf stability is your top priority, swap the cornstarch for an equal amount of Clear Jel and follow your extension office's tested ratio.
Chef's Tip: Whichever thickener you choose, never double a canning recipe. Doubling can change how heat penetrates the jars and compromise safety.
How to Make and Can Apple Pie Filling Step by Step
The process for canning apples for pie filling comes down to four stages: prepping the apples, building the spiced syrup, combining everything, and processing the jars. Blanching the apple slices briefly before adding them to the syrup helps them hold their shape and prevents floating fruit once the jars are sealed.
Ready to make it? Here is the full step-by-step recipe:
Homemade Apple Pie Filling for Canning
Learn how to make and can apple pie filling at home with this easy, small-batch water bath canning recipe, so you can enjoy a taste of fall all year long.
Ingredients
- 6 lb apples, peeled, cored, and sliced 1/2 inch thick (Granny Smith or other firm baking apples)
- 2 1/2 cups granulated sugar
- 1 cup cornstarch, do not substitute with Clear Jel unless you have tested processing times; this recipe is designed for fridge or freezer storage if you skip Clear Jel
- 2 tsp ground cinnamon
- 1/4 tsp ground nutmeg
- 3 tbsp lemon juice, freshly squeezed
- 2 1/2 cups water
- 1/4 tsp salt
Instruction
Wash and sterilize your canning jars and lids, then keep them warm until ready to fill.
Peel, core, and slice the apples into 1/2 inch thick pieces. You should have about 6 pounds, or roughly 18 to 20 cups of sliced apples.
Fill a large stockpot with water and blanch the apple slices in batches for 1 minute each, then drain and set aside in a large bowl.
In a separate large pot, whisk together the sugar, cornstarch, cinnamon, nutmeg, and salt.
Stir in the water and lemon juice, then cook over medium heat, stirring constantly, until the mixture thickens and starts to bubble, about 5 to 7 minutes.
Let the syrup boil for 1 minute, then fold in the drained apple slices and stir gently to coat every piece.
Ladle the hot apple pie filling into your prepared jars, leaving 1 inch of headspace.
Run a knife or bubble remover around the inside of each jar to release trapped air, then wipe the rims clean.
Place lids and rings on the jars, tightening to fingertip tight.
Process the jars in a water bath canner for 25 minutes, adjusting for altitude if needed.
Remove the jars carefully and let them cool undisturbed on a towel for 12 to 24 hours before checking the seals.
Equipment
- Large stockpot
- Water bath canner
- Canning jars with lids and rings
- Jar lifter
- Ladle
- Bubble remover or plastic knife
- Large mixing bowl
Notes
Storing, Serving, and Using Your Canned Apple Pie Filling
Once your jars have cooled and sealed, store them in a cool, dark cupboard away from direct sunlight. Properly sealed jars will keep beautifully for up to a year, making this one of the easiest ways to stock your pantry with a make ahead dessert base.
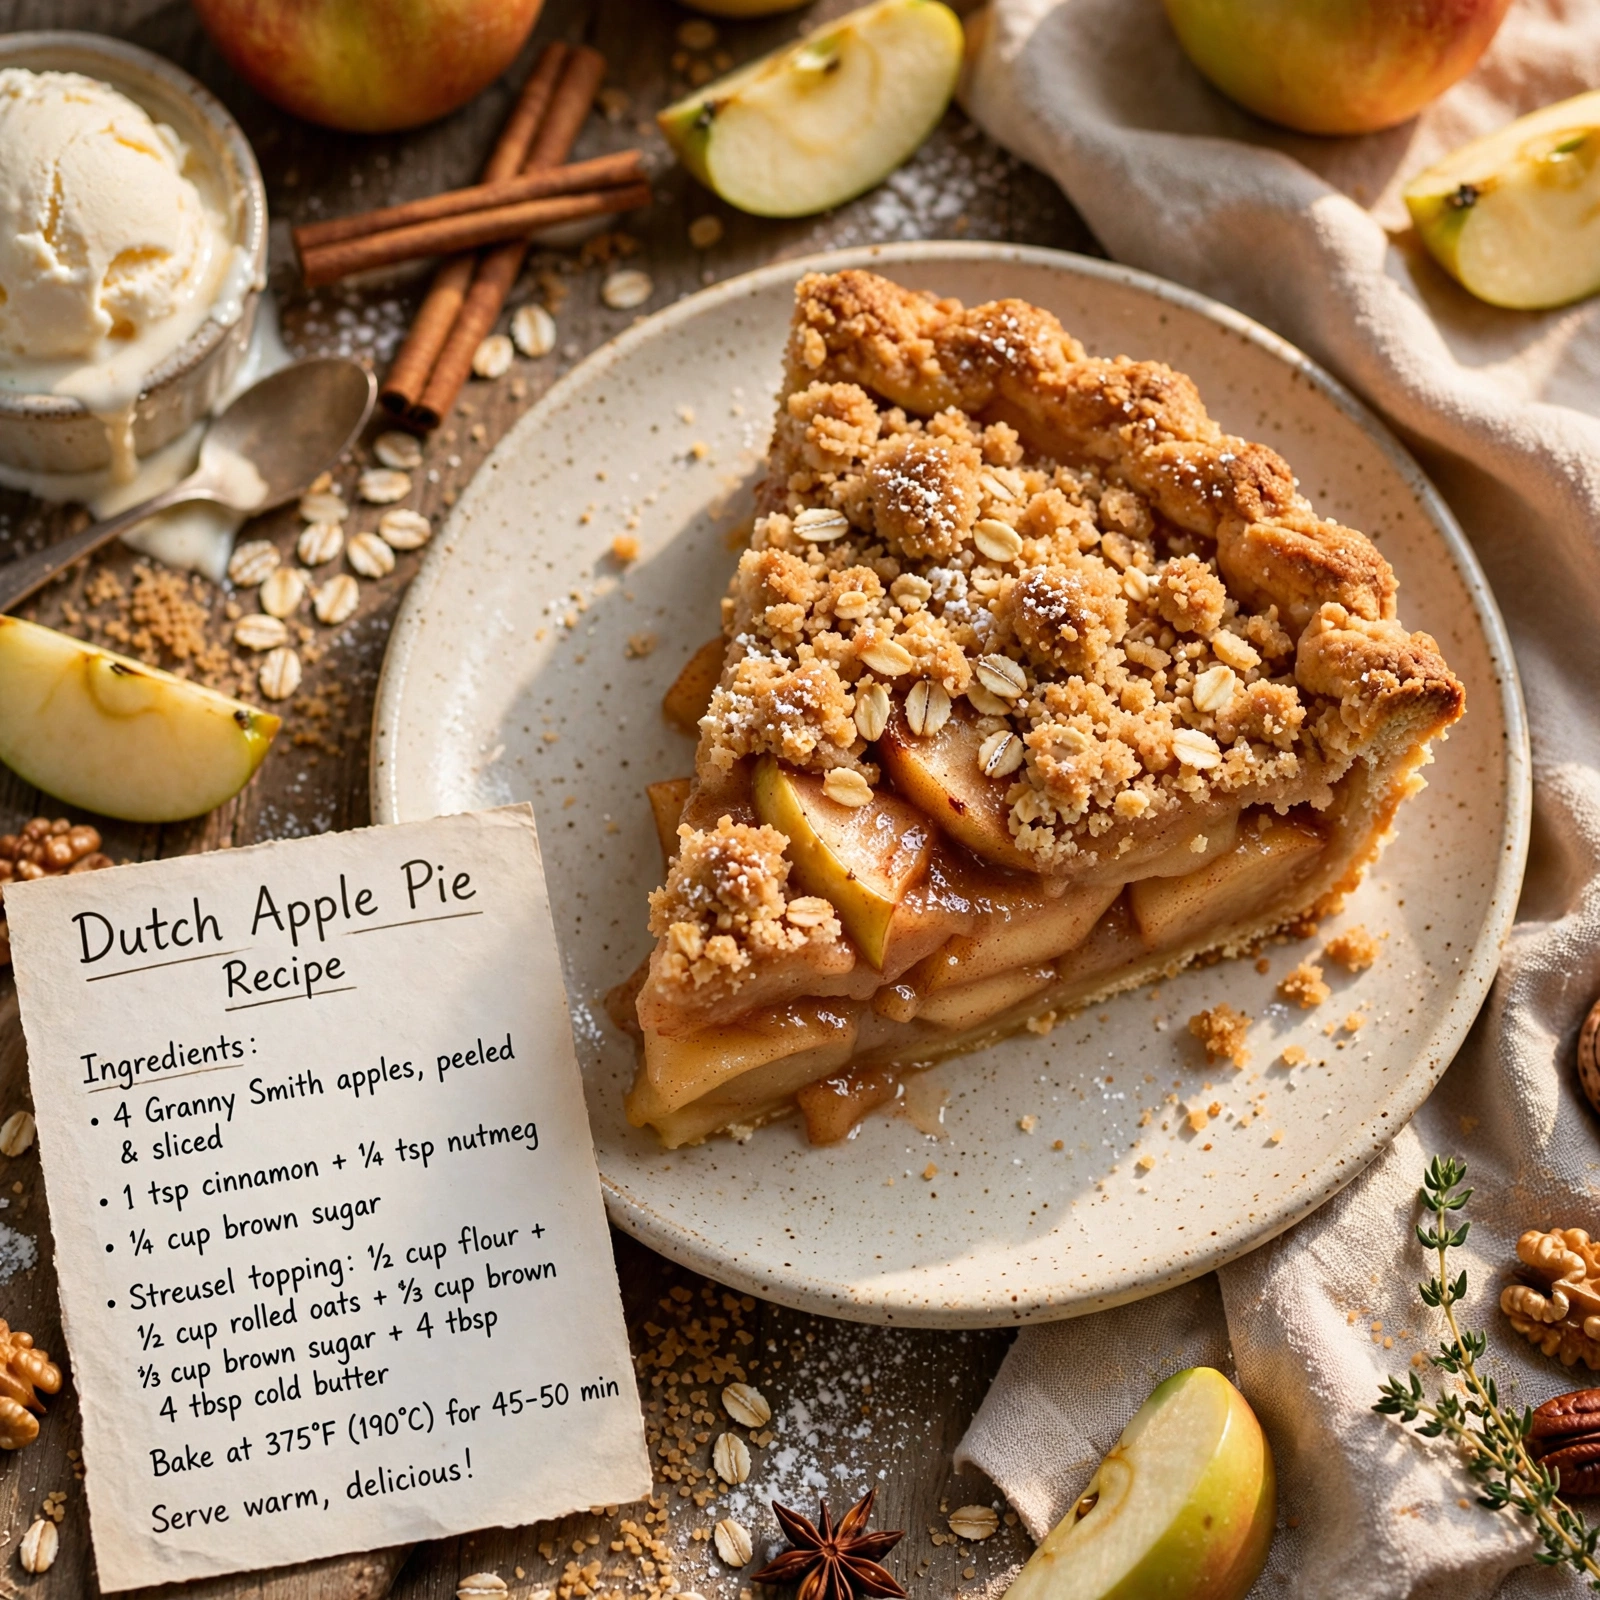
When you're ready to use a jar, simply pour the filling into a prepared pie crust and bake as usual, or spoon it warm over vanilla ice cream, pancakes, or a slice of pound cake. It also works wonderfully as a topping for oatmeal or a swirl in yogurt.
A few ways to use your finished filling:
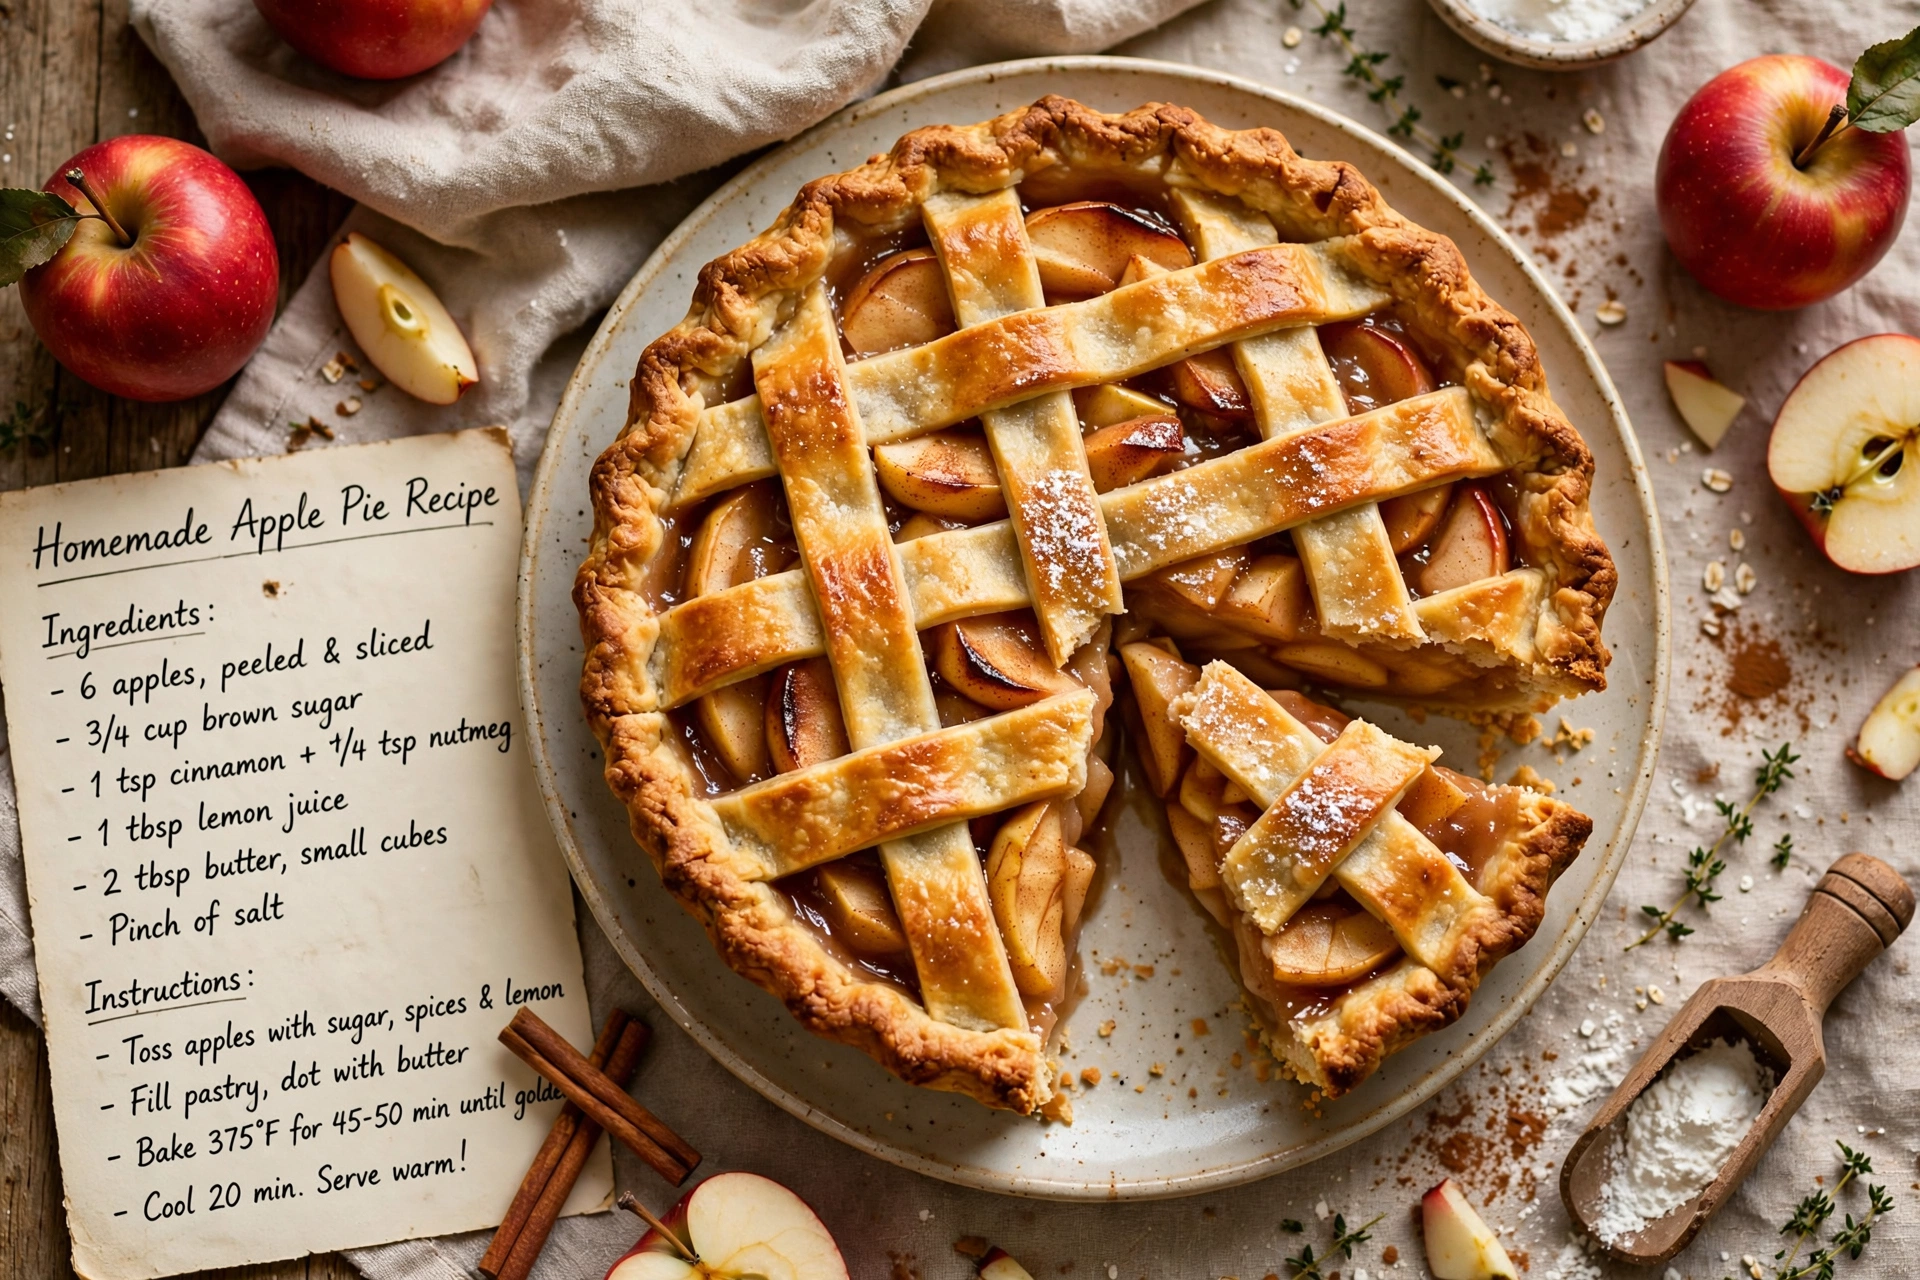
- Classic double crust apple pie
- Quick hand pies or turnovers
- A warm topping for pancakes or waffles
- Swirled into oatmeal or baked into muffins
However you serve it, this homemade filling captures everything wonderful about apple season, and having a shelf of jars ready to go means a fresh baked pie is always just an oven preheat away.