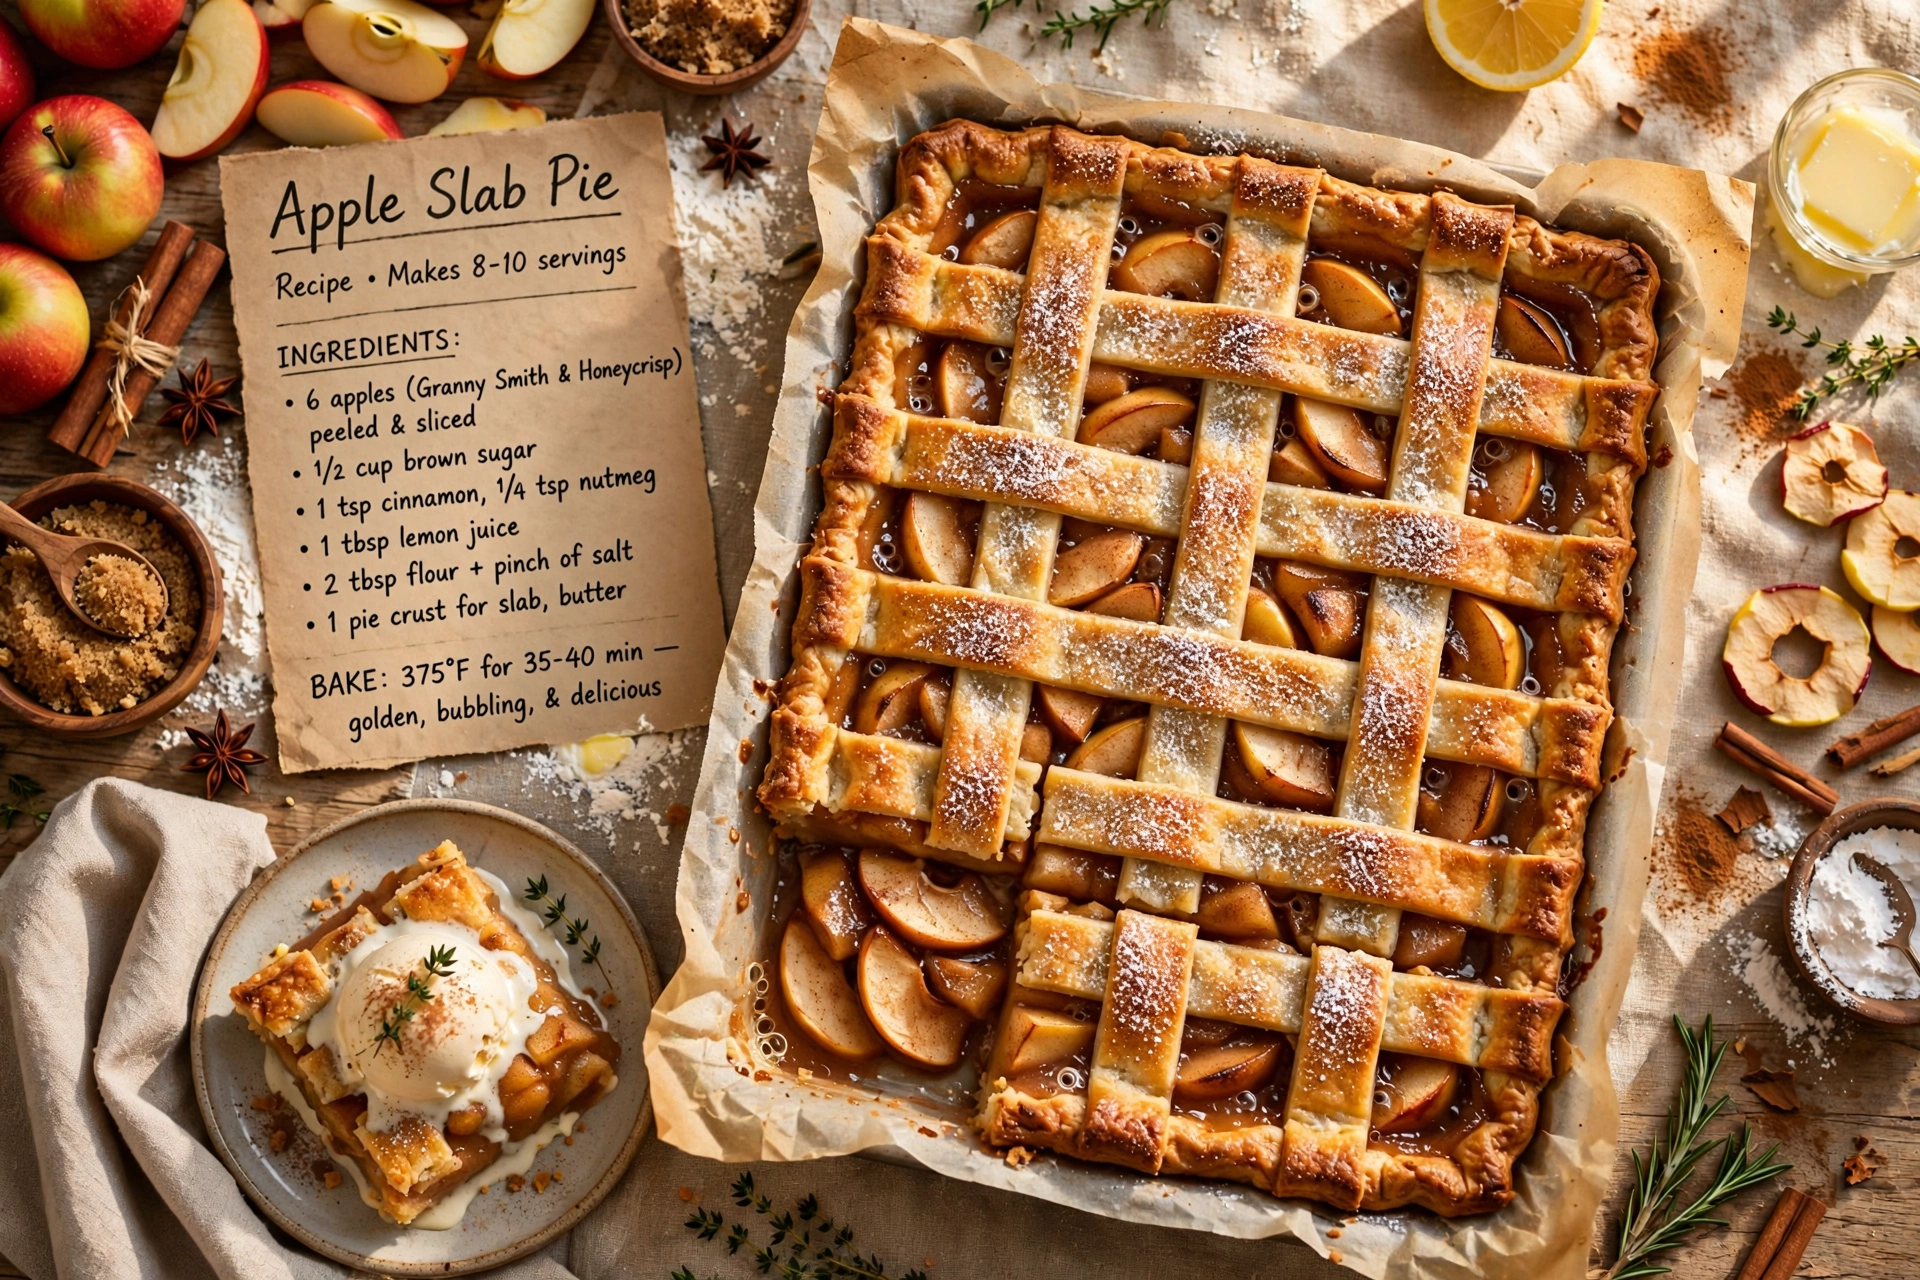
Apple Slab Pie
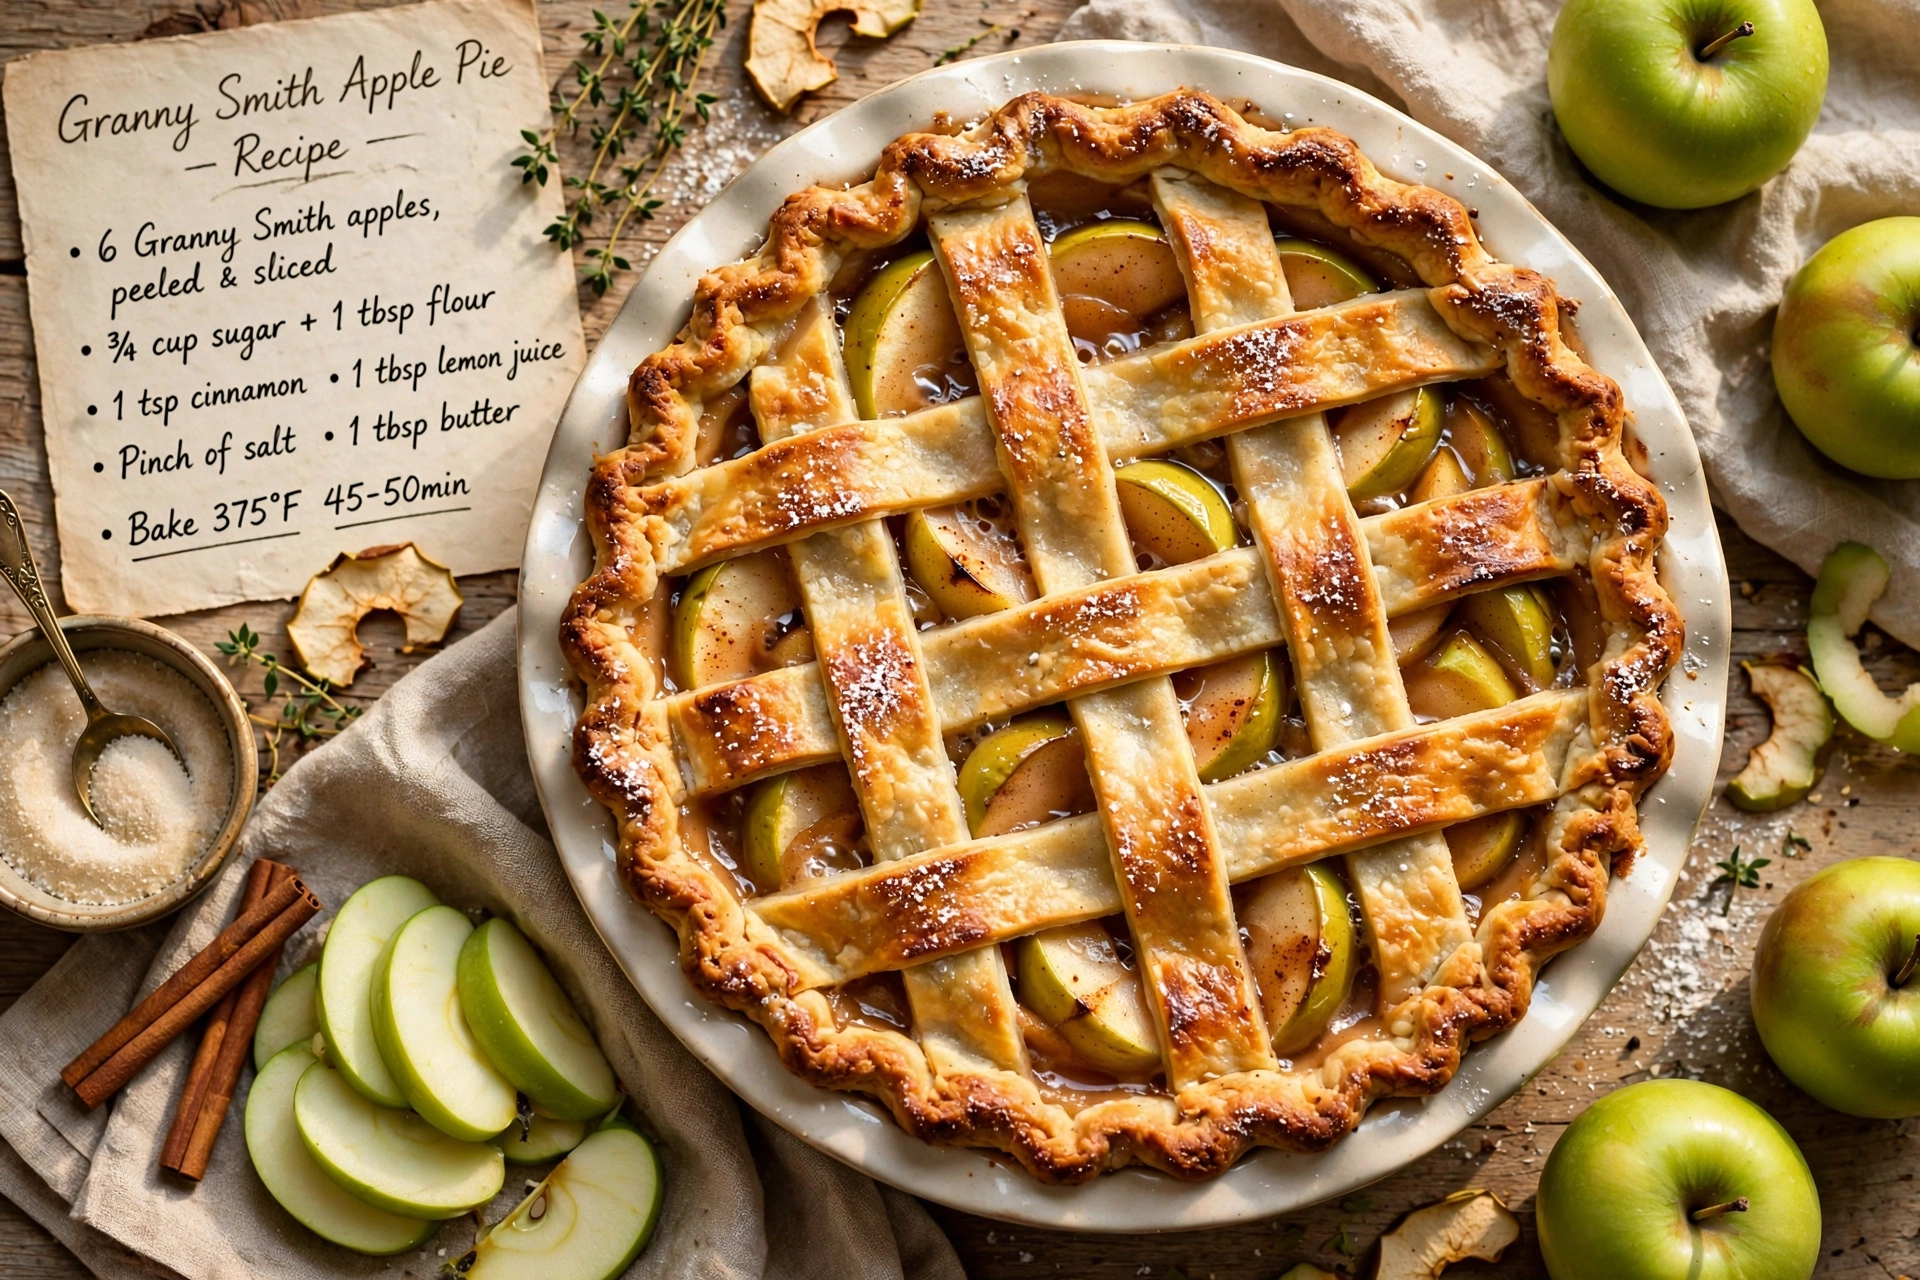
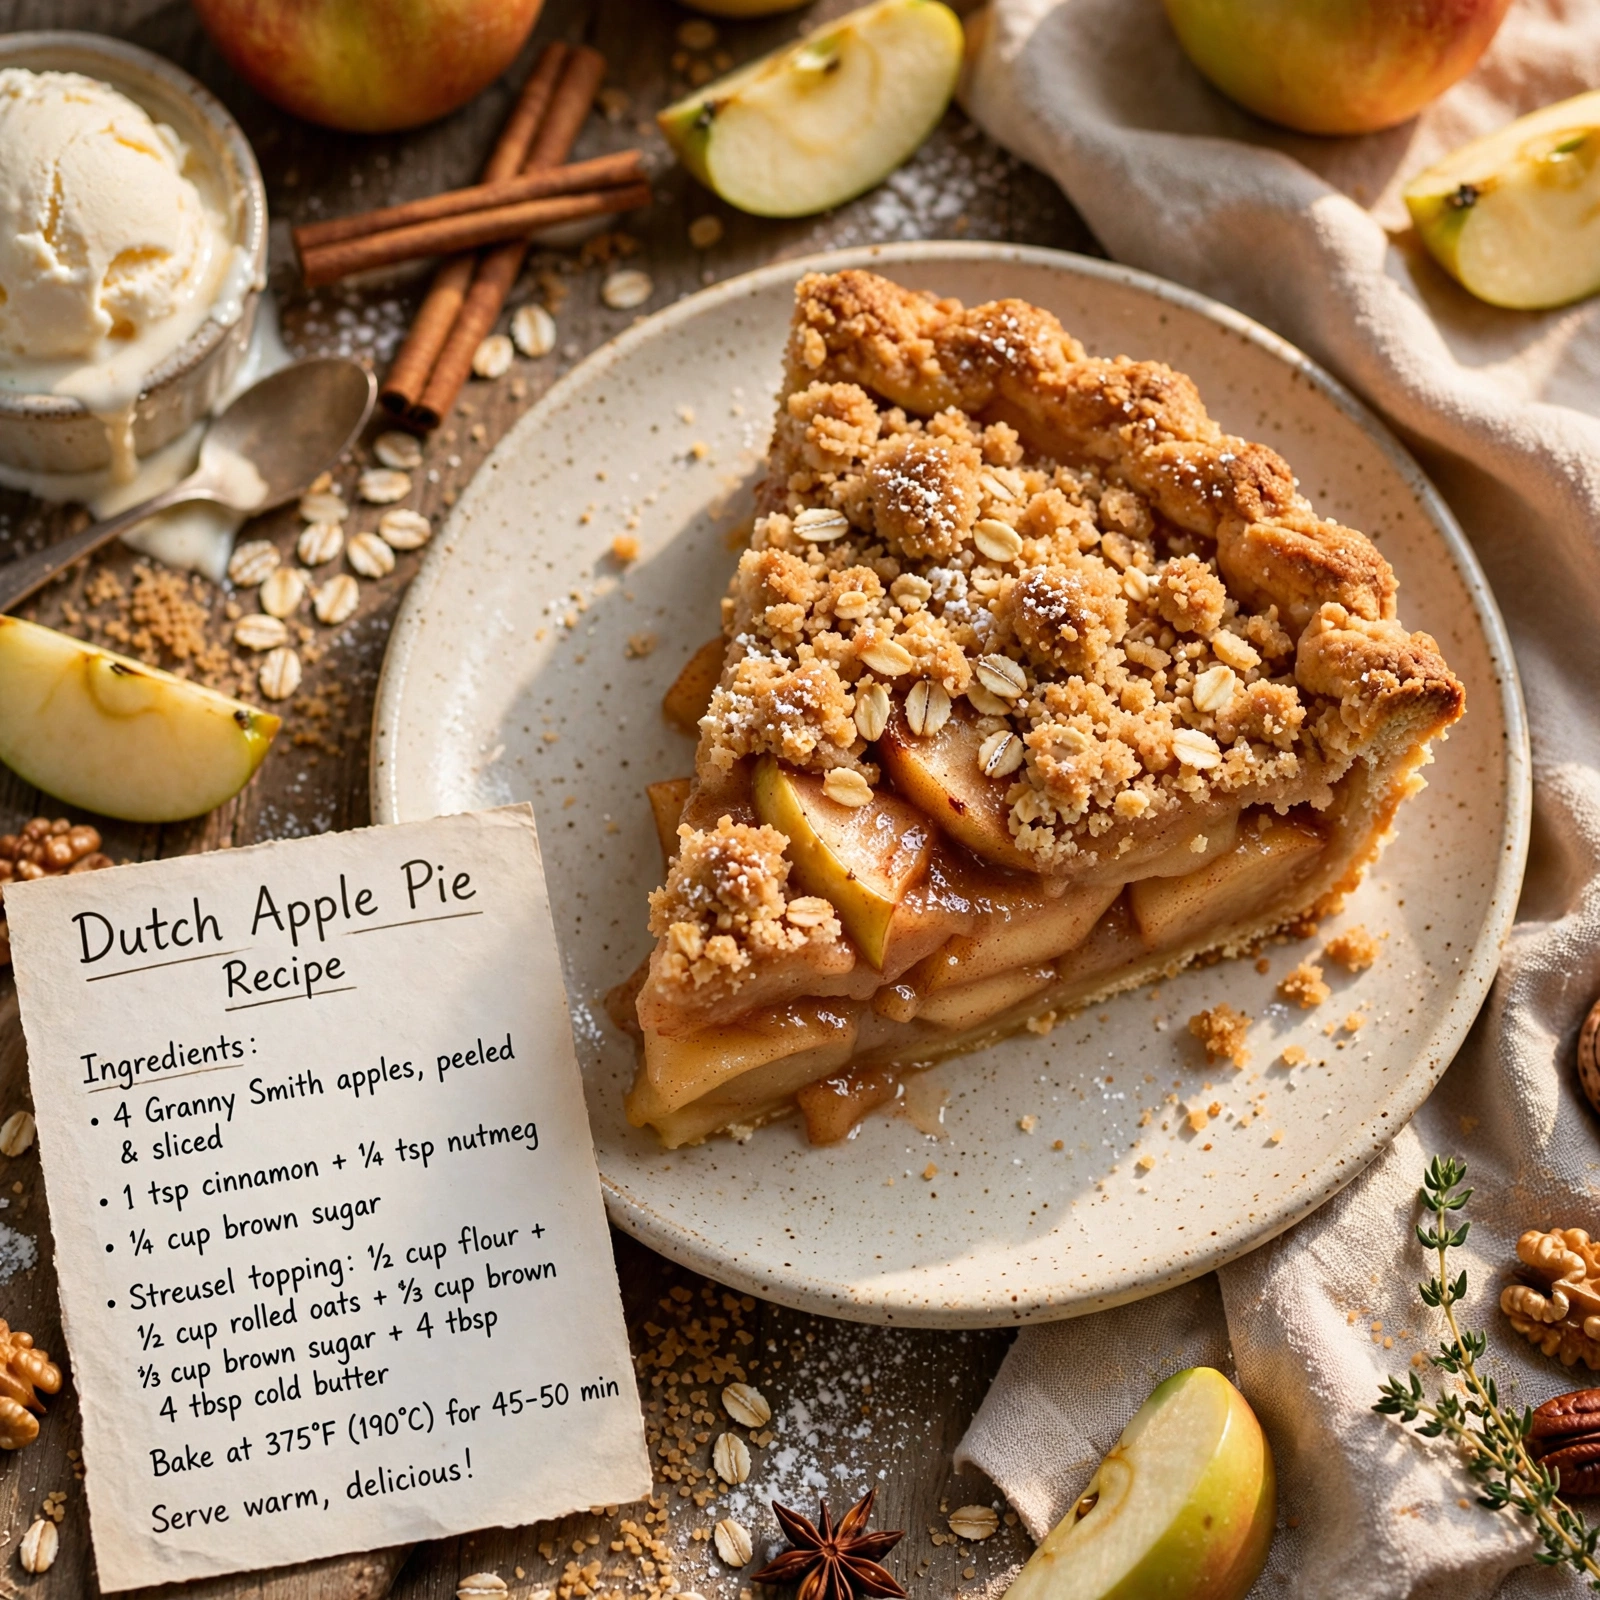
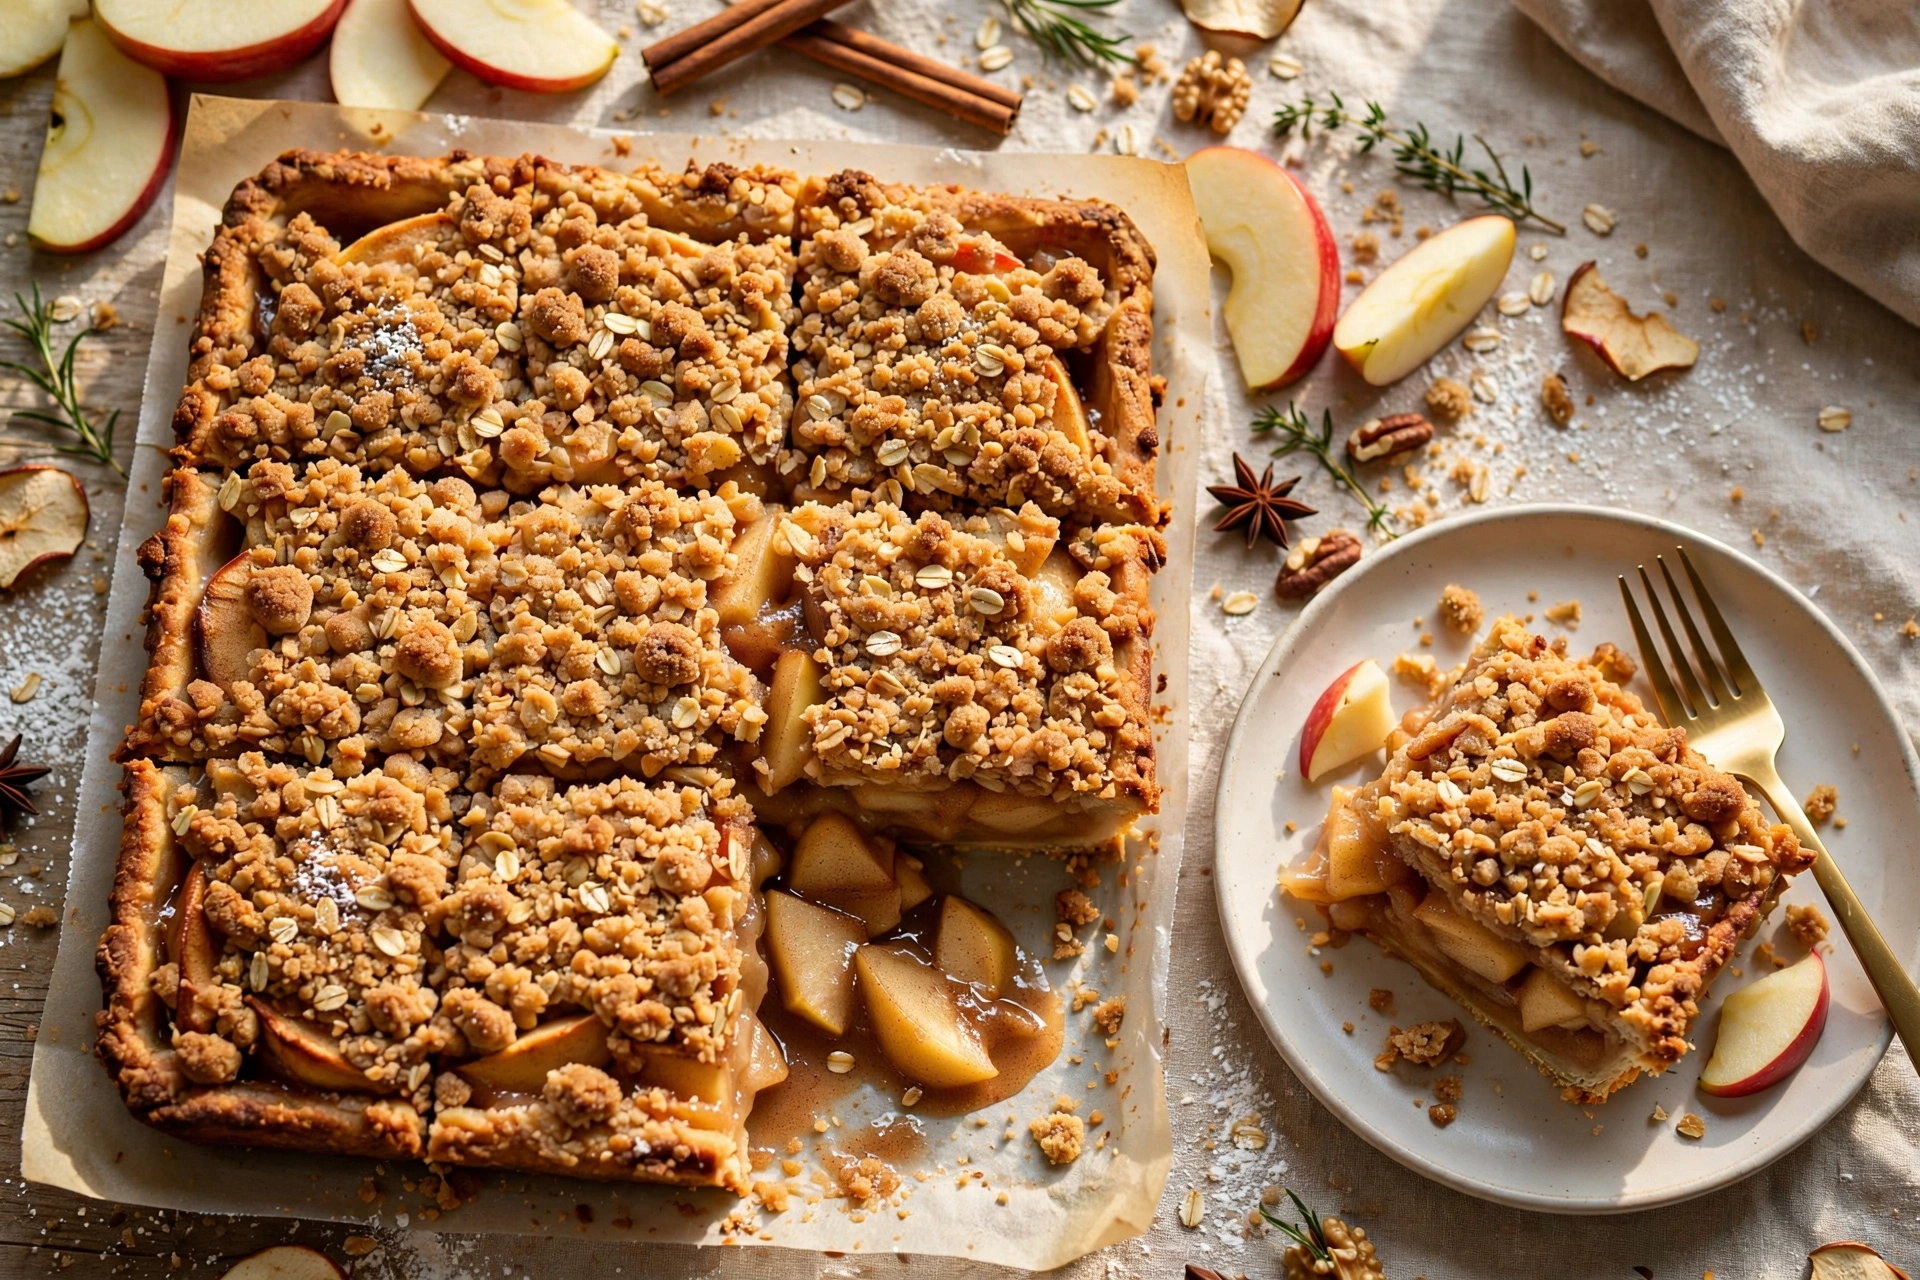
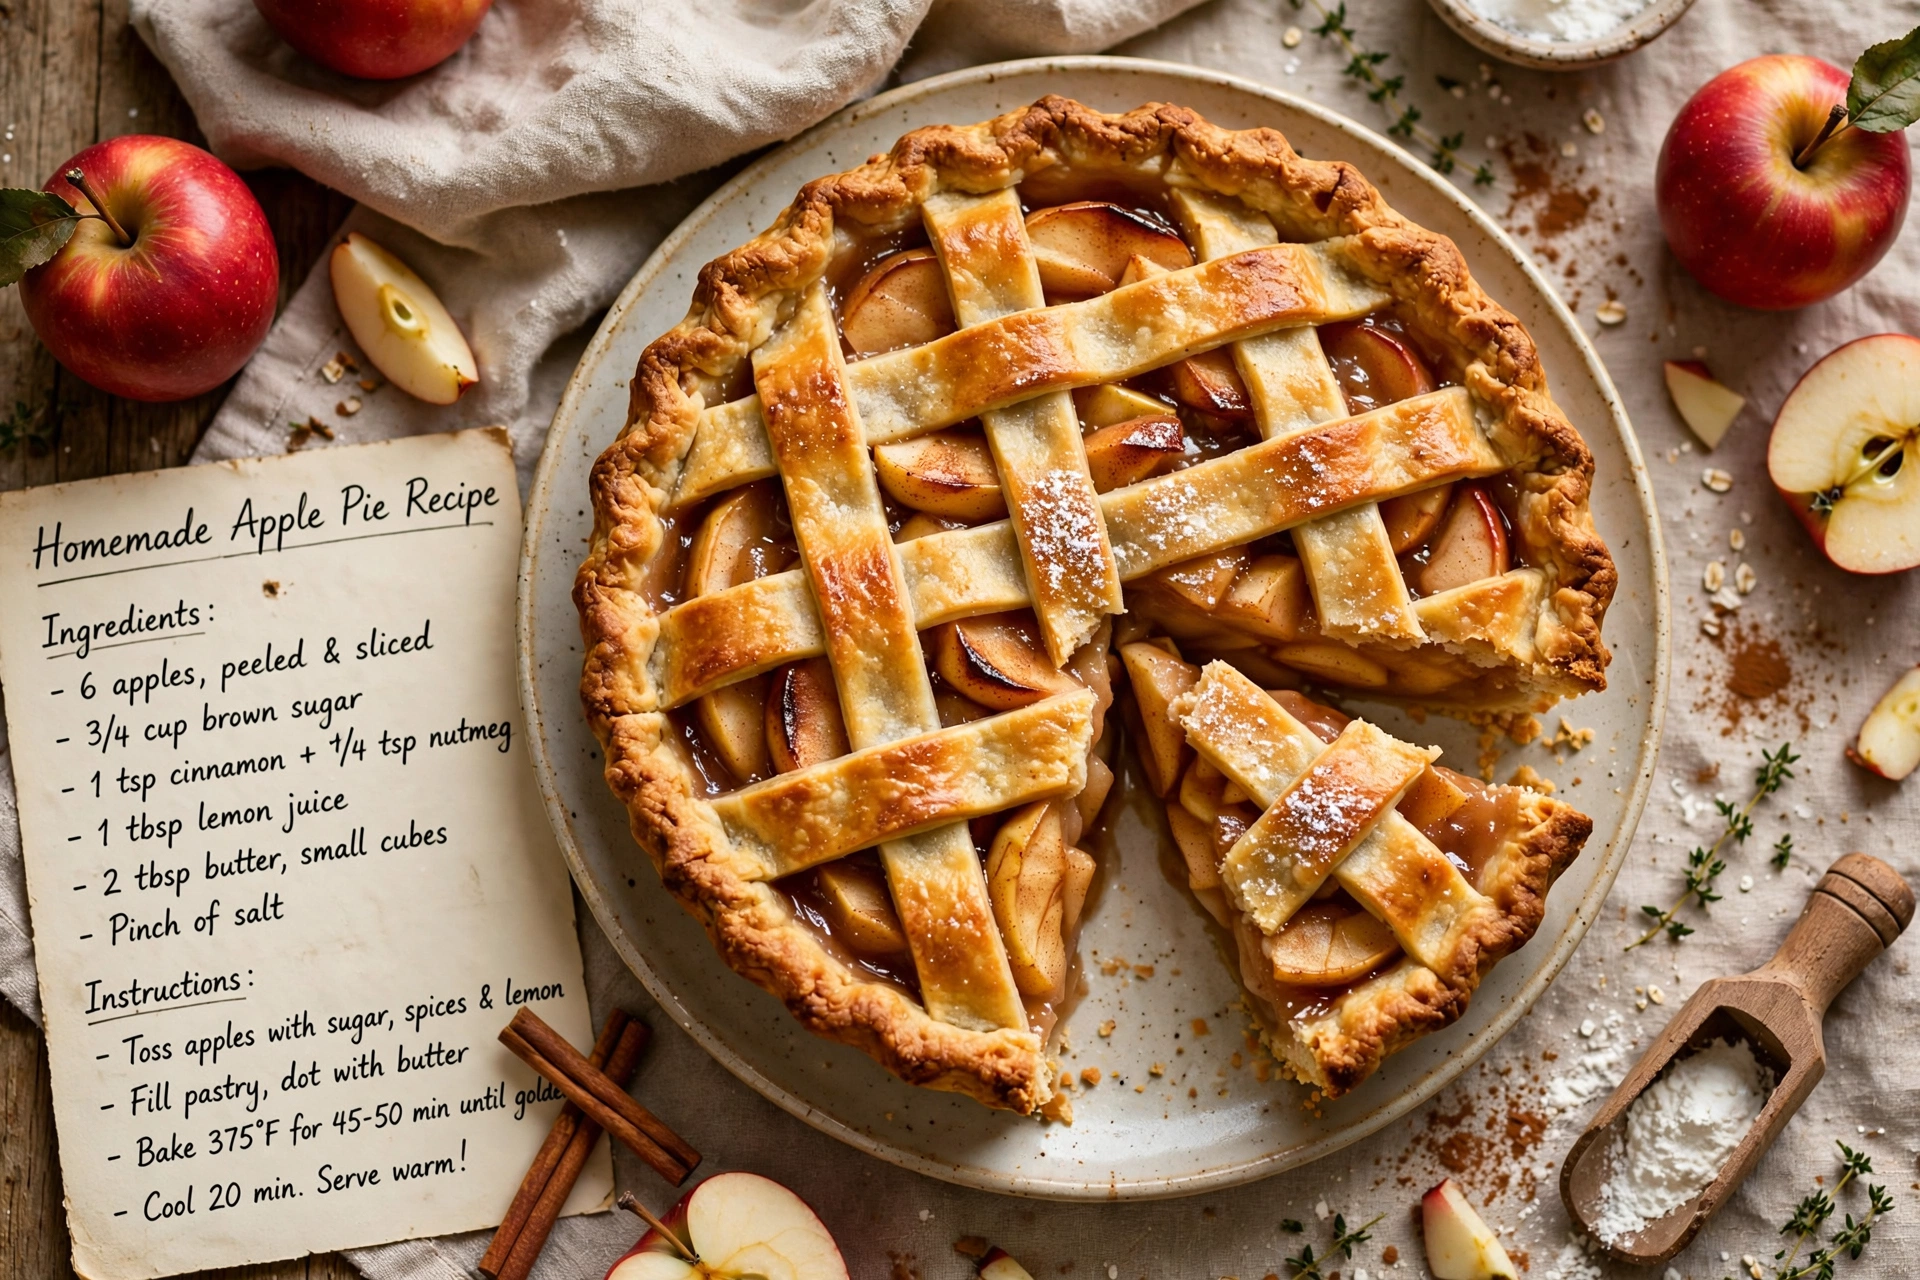
This Apple Slab Pie packs all the cozy flavor of classic apple pie into an easy sheet pan dessert with a flaky crust, spiced apple filling, and enough servings to feed a crowd.

Why This Apple Slab Pie Will Become Your Go To Fall Dessert
There is something magical about the smell of cinnamon spiced apples baking under a golden crust. This Apple Slab Pie takes everything you love about classic apple pie and stretches it across a sheet pan, which means more crust, more filling, and enough servings to feed a holiday table without stress. If you have ever searched for fall pies recipes easy enough for a crowd, this is the one to bookmark.
Unlike a traditional round pie, a slab pie is forgiving and practical. You get neat, shareable squares instead of wedges that collapse, and the higher crust to filling ratio means every bite has that buttery, flaky crunch. It is one of those homemade apple desserts that looks impressive but is genuinely simple to pull together, even for beginner bakers.
Before we get cooking, the right tools and ingredients make a real difference here. A sturdy rimmed baking sheet, a good pastry cutter, and cold, high quality butter are what separate a soggy slab from a bakery worthy one. These are the products that genuinely help this recipe shine:
The Secret to a Flaky, Sturdy Crust
Because this recipe calls for a full pound of butter divided across a double crust, keeping everything cold is essential. Cold butter creates little pockets of steam in the oven, which is what gives the crust its signature flaky layers. If your kitchen runs warm, pop your flour and cubed butter in the freezer for ten minutes before you start.
This dough is essentially a scaled up version of any recipe with pie crust, just doubled to cover a full sheet pan. If you already have a favorite pie crust recipe you trust, feel free to use it here instead, as long as it yields enough dough for two large rectangles.
Chef's Tip: Handle the dough as little as possible. Overworking it warms the butter and develops too much gluten, which leads to a tough crust instead of a tender, flaky one.
Building the Perfect Apple Filling
The filling is where this pie gets its personality. A mix of tart and sweet apples, like Granny Smith combined with Honeycrisp, gives you the best texture and flavor balance. Tossing the apples in cornstarch instead of flour keeps the filling glossy and prevents that gluey texture some apple pie filling recipes can have.
A splash of lemon juice brightens everything and keeps the apple slices from browning while you finish the crust. Do not skip the resting time after baking either, since the filling needs time to set up so your slices hold together instead of sliding apart.
If you love this style of dessert, it is also worth trying an apple crisp with pie crust as a variation, swapping the top crust here for a buttery streusel topping when you want something a little more rustic.
Let's Get Baking
Once your dough is chilled and your apples are tossed with spices, the rest comes together quickly. This is one of those apple tarts with pie crust style bakes where the sheet pan format actually makes assembly easier than a traditional pie, since there is no fussy crimping around a pie dish rim to worry about.
Ready to make it? Here is the full step by step recipe:
Apple Slab Pie
This Apple Slab Pie packs all the cozy flavor of classic apple pie into an easy sheet pan dessert with a flaky crust, spiced apple filling, and enough servings to feed a crowd.
Ingredients
- 5 cups all-purpose flour, plus extra for rolling
- 1 tbsp granulated sugar, for the crust
- 2 tsp salt, divided
- 2 cups unsalted butter, cold, cut into small cubes
- 3/4 cup ice water, plus more as needed
- 5 lb apples, peeled, cored and thinly sliced, such as Granny Smith or Honeycrisp
- 1 cup granulated sugar, for the filling
- 3/8 cup brown sugar, packed
- 3/8 cup cornstarch
- 2 tsp ground cinnamon
- 1/4 tsp ground nutmeg
- 2 tbsp lemon juice, freshly squeezed
- 1 large egg, beaten, for egg wash
- 1 cup powdered sugar, for optional glaze
- 2 tbsp milk, for optional glaze
Instruction
In a large bowl, whisk together the flour, 1 tablespoon sugar, and 1 teaspoon salt. Add the cold cubed butter and cut in with a pastry cutter or your fingers until the mixture resembles coarse crumbs with pea-sized pieces of butter remaining.
Drizzle in the ice water a little at a time, mixing gently with a fork just until the dough comes together. Divide into two discs, wrap in plastic, and chill for at least 1 hour.
Meanwhile, make the filling. In a large bowl, toss the sliced apples with granulated sugar, brown sugar, cornstarch, cinnamon, nutmeg, remaining teaspoon of salt, and lemon juice until evenly coated. Set aside.
Preheat the oven to 400 degrees F (200 degrees C). Line a 13x18 inch rimmed baking sheet with parchment paper.
On a lightly floured surface, roll out one dough disc into a large rectangle slightly bigger than your baking sheet. Carefully transfer it into the pan, pressing it into the corners and up the sides.
Spread the apple filling evenly over the crust, including any accumulated juices.
Roll out the second dough disc into a matching rectangle and lay it over the apples. Trim the excess dough, fold the edges under, and crimp to seal.
Cut several small slits in the top crust to allow steam to escape. Brush the entire top with the beaten egg.
Bake for 40 to 45 minutes, until the crust is deep golden brown and the filling is bubbling through the slits. Tent with foil if the crust browns too quickly.
Cool on a wire rack for at least 1 hour before slicing so the filling can set.
If using the glaze, whisk powdered sugar and milk together until smooth, then drizzle over the cooled pie before slicing into squares.
Equipment
- 13x18 inch rimmed baking sheet
- Rolling pin
- Pastry cutter
- Large mixing bowls
- Parchment paper
- Wire cooling rack
Notes
Serving, Storing, and Make Ahead Tips
Let the pie cool for at least an hour before slicing into squares, otherwise the filling will run. A simple powdered sugar glaze drizzled on top adds a lovely bakery style finish, though it is completely optional if you prefer a more classic, unglazed one crust apple pie look.
For storage, keep leftovers covered at room temperature for up to two days or refrigerated for up to five. This slab pie also freezes beautifully, either baked and sliced or fully assembled and unbaked, making it one of the most convenient recipes with pie filling you can prep ahead for busy holiday weeks.
However you slice it, this Apple Slab Pie is proof that easy apple pie crust and a sheet pan can turn a classic dessert into an effortless crowd pleaser.